Showing posts with label My Pink Stamper. Show all posts

Sunday, May 8, 2011

My Pink Stamper, National Scrapbook Day, Challenge #1

My Pink Stamper Challenge Number 1 for National Scrapbook Day was.....anything Cupcake!

Here's a quick little tag to go on the box of a nice little sweet treat!


 I did a lot of "hiding" on my Gypsy for this project. I wasnt crazy about all the lines on the cupcake wrapper, so I "hid" every other one and also hid various other cuts so I could get all the different layers just the way I wanted them.  A thin pop dot helps give the "Stickled" Pink Frosting a little bit more dimension.

Be sure to head over to My Pink Stamper and check out all the other entries!  http://www.mypinkstamper.com/2011/05/national-scrapbook-day-challenge-1.html

My Pink Stamper, National Scrapbook Day, Challenge #6

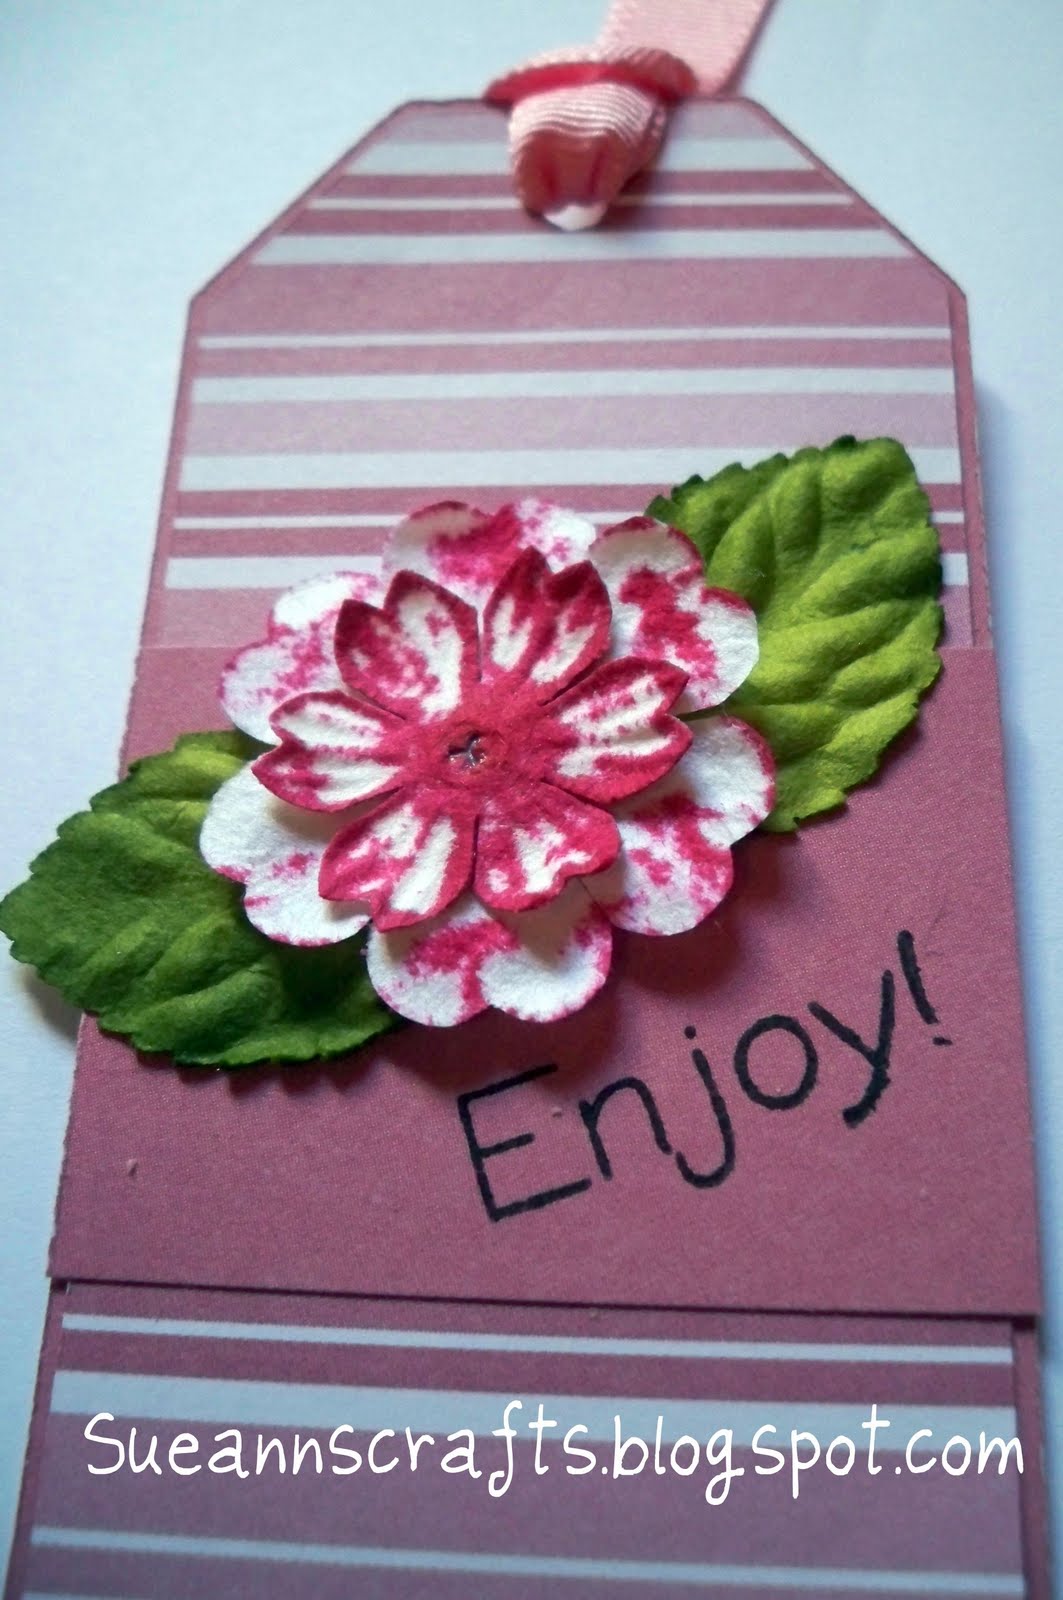
Here is my entry for Robyn, My Pink Stamper's, 6th Challenge for National Scrapbook Day. This challenge was to incorporate a tag into your project. I made a card and matching tag to go with a small gift or flowers.


The stamps used on both the card and the tag are from MPS. The flower was a white double layer flower that I turned upside down on my Stampin' Up Ink pad and tapped it into the felt pad with a pair of tweezers. I think it came out neat!

Be sure to head over to My Pink Stamper and check out all the other projects!

http://www.mypinkstamper.com/2011/05/national-scrapbook-day-challenge-6.html

Wednesday, March 30, 2011

Across the distance...

One of my best friends is currently serving in the United States Air Force, and while this is floral paper, I think its a manly floral that was OK to send him!

I love my Sizzix Texture Boutique- It can add SO much dimension to your projects, for a very reasonable price- especially if you are shopping with Meg and I at Michael's!

The "Love U Much" Embossing folder came from the Sizzix Valentine's Day folder set and at regualr price probably sold for $11+ dollars. Meg and I each scooped up a set on clearance for..............$3!!!  WOW!!  And clearly- they are good for much more than just Valentine's!

Sunday, March 6, 2011

St Patrick's Day Cards...

These are some of the St Patrick's Day cards I made...it was an adventure getting to the final product with these cards! I tried a few new things along the way, so they took a little extra time in design and a lot of trial and error too!

These are standard A2 size white card that were bought from a craft store chain.
The green paper is Core'dinations paper that was cut 1/4 inch smaller than the A2 card, put through the Texture Boutique with the Cuttlebug embossing folder "Pebbles". Once ebmossed, I sanding the raised sides to reveal the lighter green core color of the paper. And then of couse I used the corner rounder.


The Shamrocks were cut from Designers Calendar Cricut Cartridge (using Meg's Gypsy since at this point I hadnt caved and bought one yet---I have since then, and it should be here this week!).  I used the rounded feature cut and the regular cut and they are cut at 3 inches (I believe). Before I applied them to the card, I sprayed them with some Gold Tattered Angels Glimmer Mist, and put pop dots on the back of them.

The Happy St Patrick's Day banner was done with a cut from the Cricut Sampler Cartridge, stamped with a stamp from the dollar section of a chain craft store, and when dry, it was chalked with 2 tones of green.


I stamped the outside front of the envelope with another stamp from the same dollar section of the store...I find some really great things in the dollar section- anyone else????


Over all, Im pretty happy.  Originally, the green embossed papers had ripped edges, but I wasn't really enjoying the way they looked. Anyone have any tips on ripping paper?  I would LOVE to hear them....I really want to try it more....but I never like the way it looks.....


Hope everyone is having fun gearing up for St Patrick's Day....after all, everyone is Irish on St. Patrick's Day!  We will be sporting our Irishness at our local Parade- one of the best in the country....Can't wait!


Saturday, February 12, 2011

Another My Pink Stamper Challenge!

What a neat Blog Hop last night! It was so fun to see everyone's projects! Here is my project from the challenge....to see what the challenge was go check out My Pink Stamper.


I am proud to say this was my first Gypsy project.  Not because I own one, but because I stole Megs and took it for a test run!

Hope you like it!  Will post more details later for those that are interested.  I always love to see comments and hear your thoughts! Let me know you were here!

Have a great night!

Monday, February 7, 2011

My Pink Stamper Challenge!

Tonight, Robyn, My Pink Stamper, posted a challenge to make something about Spring, or something that makes you happy.  Here is my project- a Dragonfly card.


Dragonflies remind me of spring, and summer too (we often see many of them up at the lake house we rent). The colors in this card, shades of pink and green, also remind many people of Spring.
Here's how I did it:

  • This is a 5x5 inch white card base that I rounded the corners on.
  • 3 1/2 inch Dragonfly base and layers from the Circut CM exclusive Cheerful Seasons Cartridge. I used 3 shades of purple. Darkest for the base, next lightest for the overlay, and lightest purple for the top wing layer. I chose not to use the layer on the bottom wings. I used a light grey/light purple paper for the body of the dragonfly.
  • After I layered it all up, I used my I-Rock to set 6 crystals in the wings and then applied a million (ok 8) pop-dots to the back (they were smaller ones!)
  • I then layered a 5x5 piece of light pink paper with rounded corners, and a 4 3/4 x 4 3/4 piece of patterned green paper, also corner rounded, together and wrapped the double layer of ribbon around it, securing it to the back, and then to the card base.
  • After putting on the dragonfly I left like it needed just a little something more so I took out 2 white paper flowers, chalked them in shades of purple, and applied them to the card, with an I-Rock stone in the middle.
This project took me about an hour, as I had to re-adjust my Cricut settings and replace some paper parts! Otherwise, it wouldn’t have taken very long at all!

I love when people leave comments, so let me know you were here!!!